Inevitability as you progress with skiing you will meet a T-Bar ski lift. Learning how to ride a T-Bar lift on skis doesn’t have to be intimidating. In fact, we break it down to six simple steps so you can ride a T-Bar without falling.
Read on and you’ll learn how to ride a T-Bar whether it is for a beginner area, terrain park or just to make a crossing at a ski area.
What is a T-Bar Ski Lift?
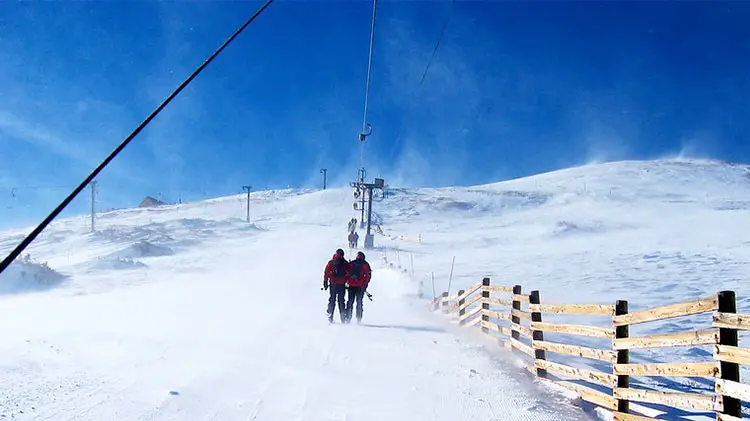
A T-Bar is a ski lift that is found at tons of ski resorts. They are very versatile for smaller areas and terrain parks, therefore, they are more common than you think. T-Bars are a drag lift that is similar to a Poma lift but they have less spring than a Poma or button lift. They are one of a few types of surface lifts that ski areas use.
While you might find T-Bar lifts in quite a few beginner areas, it doesn’t mean they are particularly beginner-friendly. In fact, they do take a bit of getting used to and some beginners argue that T-Bars lifts can be tricker than a chair lift. Although, chair lifts are often more intimidating than a T-Bar lift to beginners.
Costing less to run and maintain than a chairlift, a T-Bar is one of the most popular alternatives at resorts. They still provide easy uphill travel but can be less of a headache to resorts. Ski patrol are fans of the T-Bar as well since they never have to rescue skiers and boarders from the air.
The T-Bar is safe, effective and cost-friendly but let’s see why they work well in some situations and not in others.
How do T-Bar Ski Lifts Work?
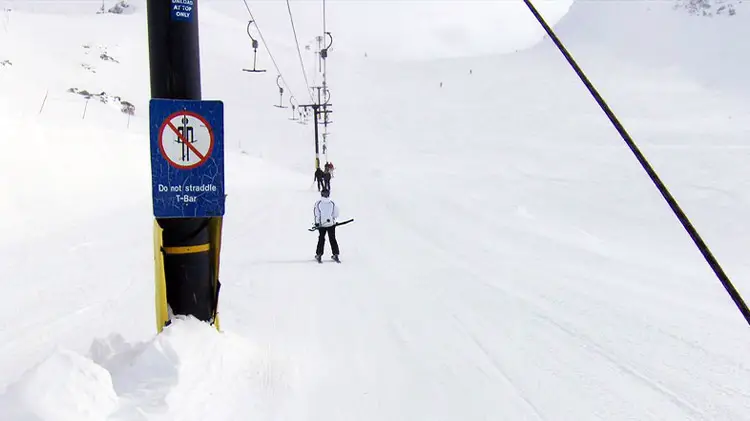
T-Bar ski lifts are a drag lift. That means they pull skiers to the top of the hill or slope using the handles. Similar to chair ski lifts, T-Bars use a large rotating hub with cables to help move skiers uphill. With the bars spaced out, they come around and pick up person after person. As the name suggests, there is a bar in the shape of a T hanging from cables so skiers and boarders and grab onto.
Often you’ll see T-Bars just pulling up one skier at a time but they are usually strong enough to drag up a skier on each side of the T-Bar. You’ll see this in the terrain park more often than in the beginner’s area. Plus, some resorts have rules for one rider per T-Bar handle so be sure to pay attention to the posted signs.
Now with an idea of how T-Bars work, let’s get into the steps on how to ride one on your skis.
How to Ride a T-Bar Lift on Skis (Step by Step Approach)
Breaking down the riding the T-Bar on skis into steps makes it easiest to digest for beginners. We have seen it taught this way at many resorts and it always has success. Just take the steps slow and before long riding the T-Bar will be natural and a lift you look forward to riding on the slopes.
Step 1: The Approach
As you work your way up to the front of the lift line, keep an eye at the speed at which the T-Bars are coming around. It will help you judge if you need to let a bar pass by or not. There is no shame in waiting for a bar to come around when you are ready.
Step 2: Grabbing the T-Bar
Before you grab the T-Bar, take both of your ski poles and put them into your outside hand. Give a little push with your skis and grab the T-Bar with your inside hand.
Step 3: Positioning Yourself on the T-Bar
Your first move when grabbing the T-Bar is tucking it behind your butt. This takes a lot of weight off of just yanking you up the hill. A lot of beginners will hold on but forget to tuck the T-Bar behind their butt. Tucking the bar will allow the lift to properly pull you up the slopes.
The T-Bar doesn’t need to be a hard upper body exercise. Use the bar and let it do the work. That’s what it’s designed for anyway.
If two people are using a single T-Bar then you will just have to hold onto each side.
Step 4: Adjusting The Ride
While you travel uphill, you’ll notice there are some tracks from the other skiers. Try to stay in the tracks and avoid crossing your tips for a smooth ride up the hill.
Step 5: Preparing to Exit the T-Bar
Once you are approaching the peak, you’ll see the offloading area just up ahead. Scan it to make sure there is no one clogging up the offload area of the lift. Plan ahead for your release and where you will ski to.
Step 6: Exiting the T-Bar Lift
Exiting the T-Bar is even easier than getting onto a T-Bar lift. Once at the top, you have pretty much made it. As the slope crests, release the T-Bar and ski to the area you planned ahead for.
Safety Tips for Riding a T-Bar Ski Lift
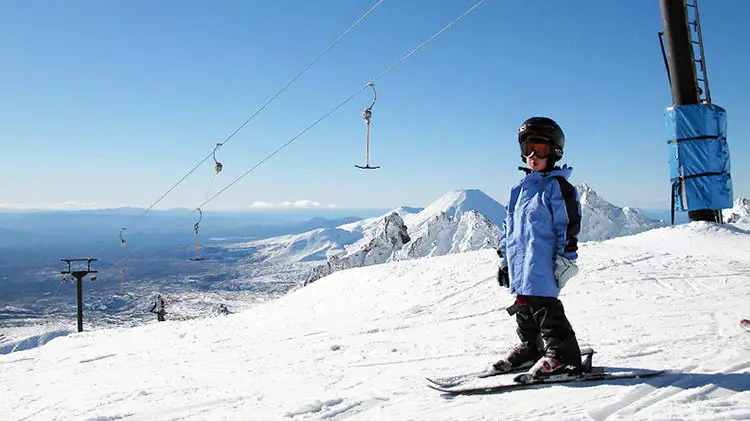
Overall, T-Bars are one of the safest lifts as we mention that all riders are on the ground. Still, there are a few safety tips that will really help you to master riding the T-Bar. Use these two to have a safe ride on the T-Bar.
1. Skip T-Bars on The Entry
If you feel the T-Bar is coming too fast, wait for the next one. It is better than grabbing it late, falling and then holding up the lift line. You are better off stalling the lift line a little to get a better grab upfront.
2. Don’t Rush the Exit
Too many skiers don’t plan ahead when they are new. Look ahead to where you are going to ski and how you will exit the lift. Take it slow and you’ll find success when getting off a T-Bar lift.
Final Thoughts
Visit enough ski areas and you’ll certainly come across the T-Bar. It is one of the most common surface lifts so it is important to know how to ride it. If you follow the above six steps and then the safety tips, you are really going to enjoy the T-Bar. Get out there and ride it, that’s the only way to practice!

Alec Wilson writes for Proper Peaks and lives near Claremont, VT. He hardly misses a weekend on the ski slopes in the winter. If there is snow, Alec’s skis are on for a go. Look out for his stickered-up helmet and you might just meet him on the trails.
